
Build a simple cold frame to extend the growing season
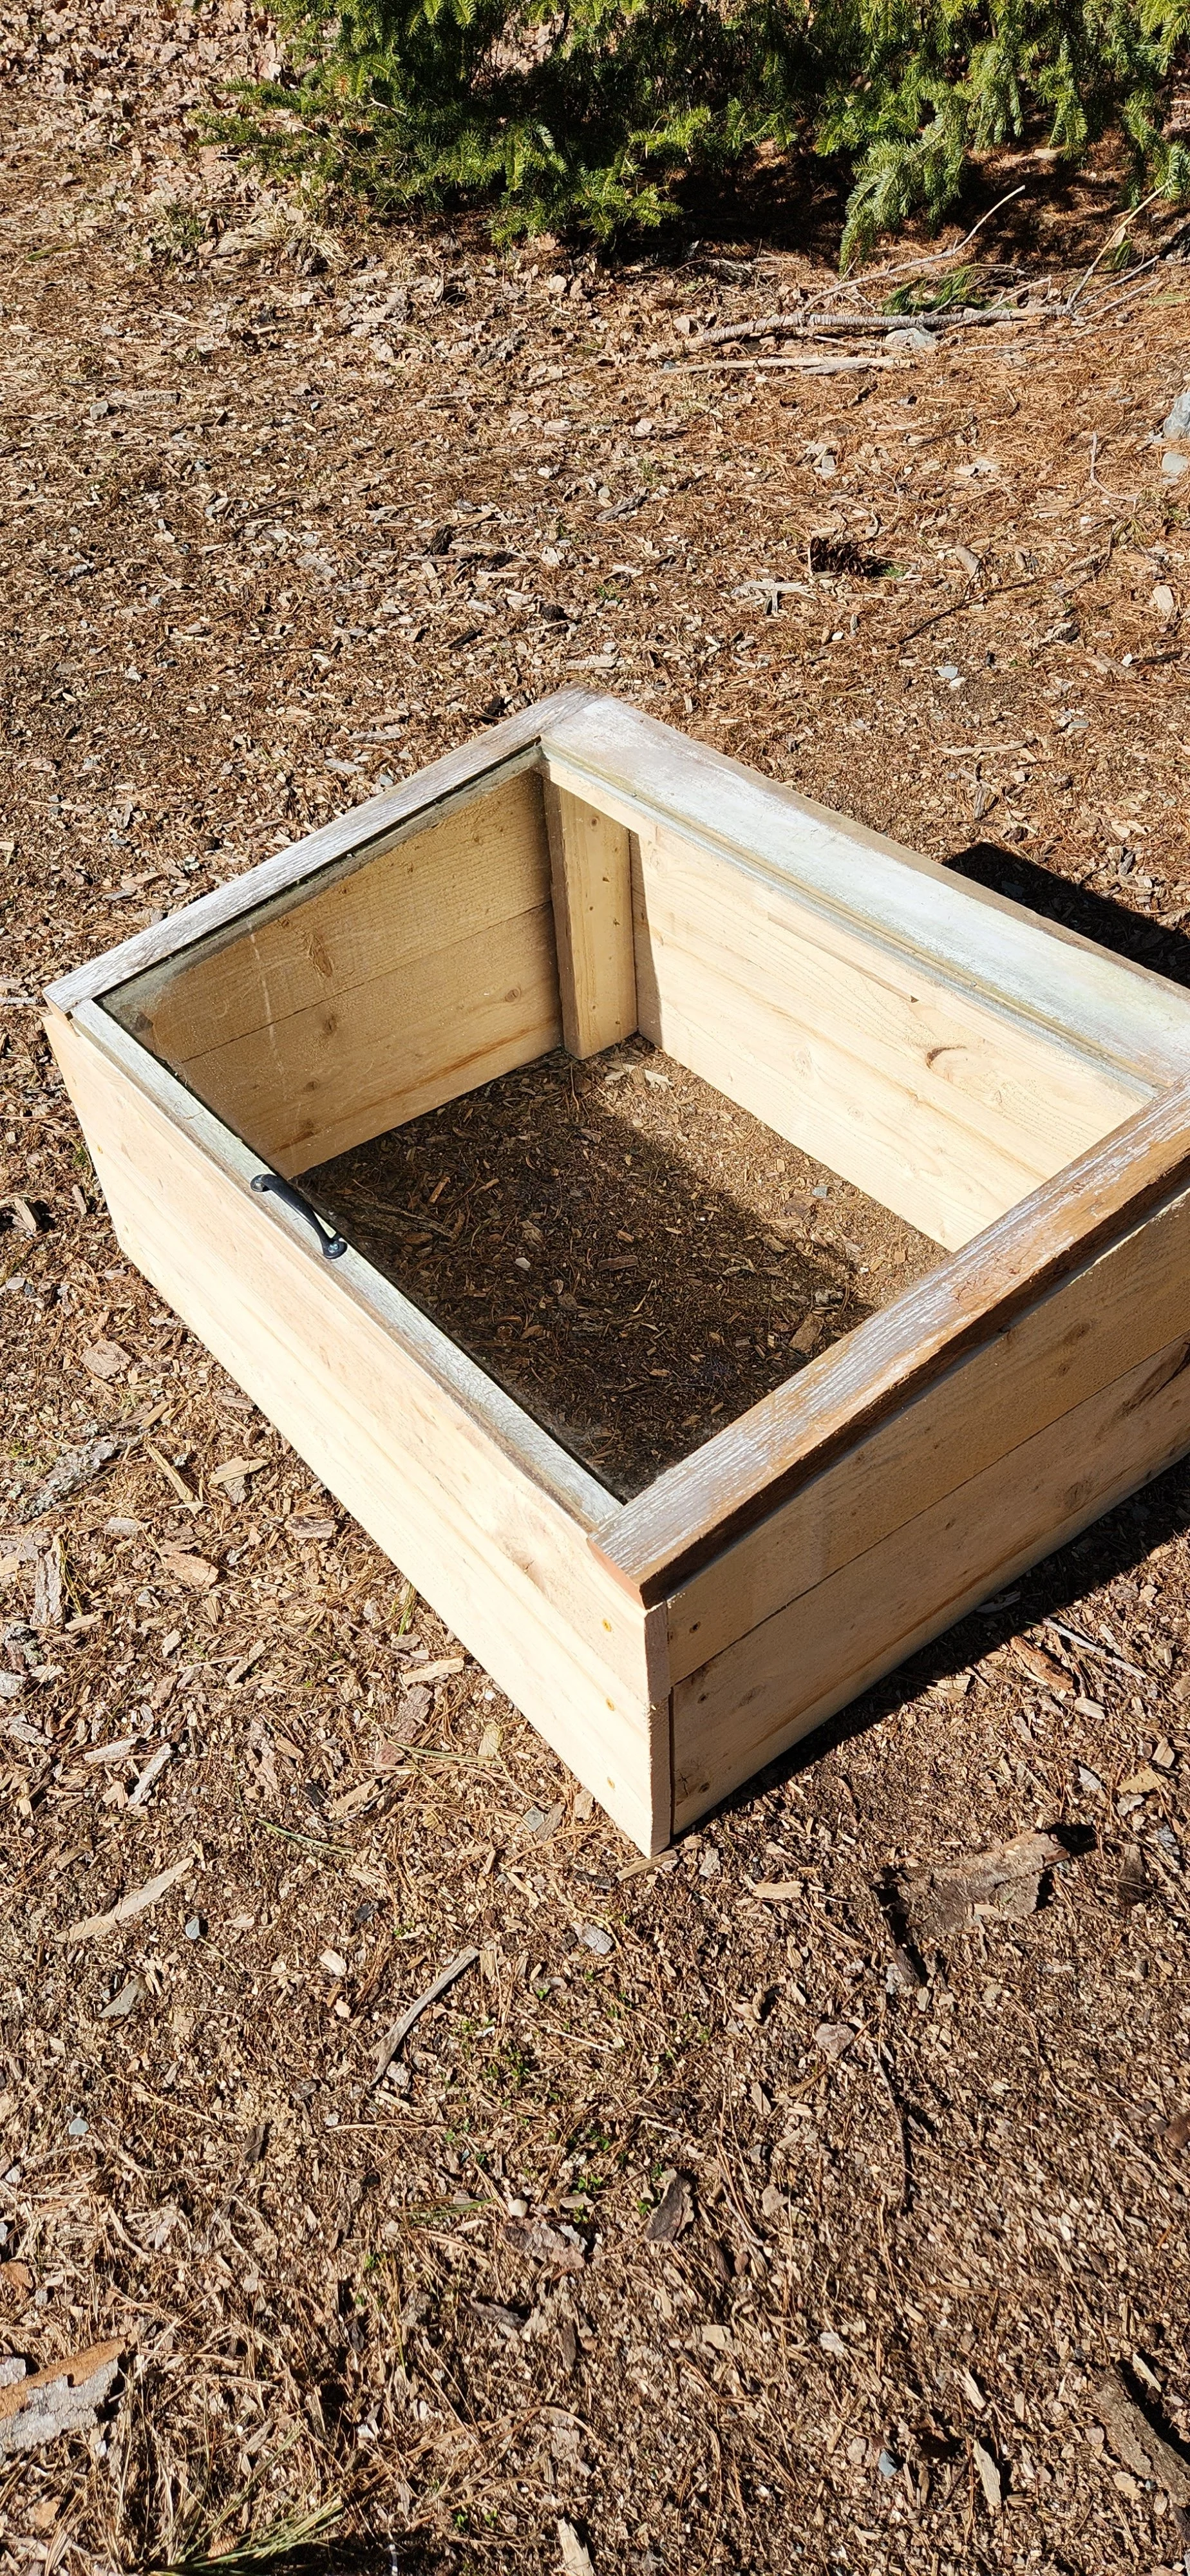
This simple cold frame was constructed with a discarded window and a few pieces of lumber precut at the author's local lumber yard.
Text and photos by Ivonne Vazquez
Living in a cold climate calls for ways to extend the growing season. One method, a cold frame, can be tailored to your gardening needs, space requirements and availability of materials.
A cold frame is a bottomless box, usually made with a glass or a plastic cover, that uses no artificial heat and provides protection from the elements to seedlings, tender annuals and heat-loving plants.
Using leftover lumber and an old window, or a sheet of greenhouse-grade polycarbonate, making a cold frame can be an inexpensive project.
The following are instructions to construct a simple cold frame measuring 24 inches long by 34 inches wide by 15 inches tall—a size determined by an old window I had on hand. This provides almost 6 square feet of growing area, or enough for eight one-gallon-sized plant pots or 15 seedling sixpacks. (To build a cold frame of a different size, measure the long and short sides of the window you have on hand.)
If you don’t have a large vehicle for moving long boards and/or the tools necessary to cut lumber, ask your lumber dealer if they would cut your boards when you buy them.
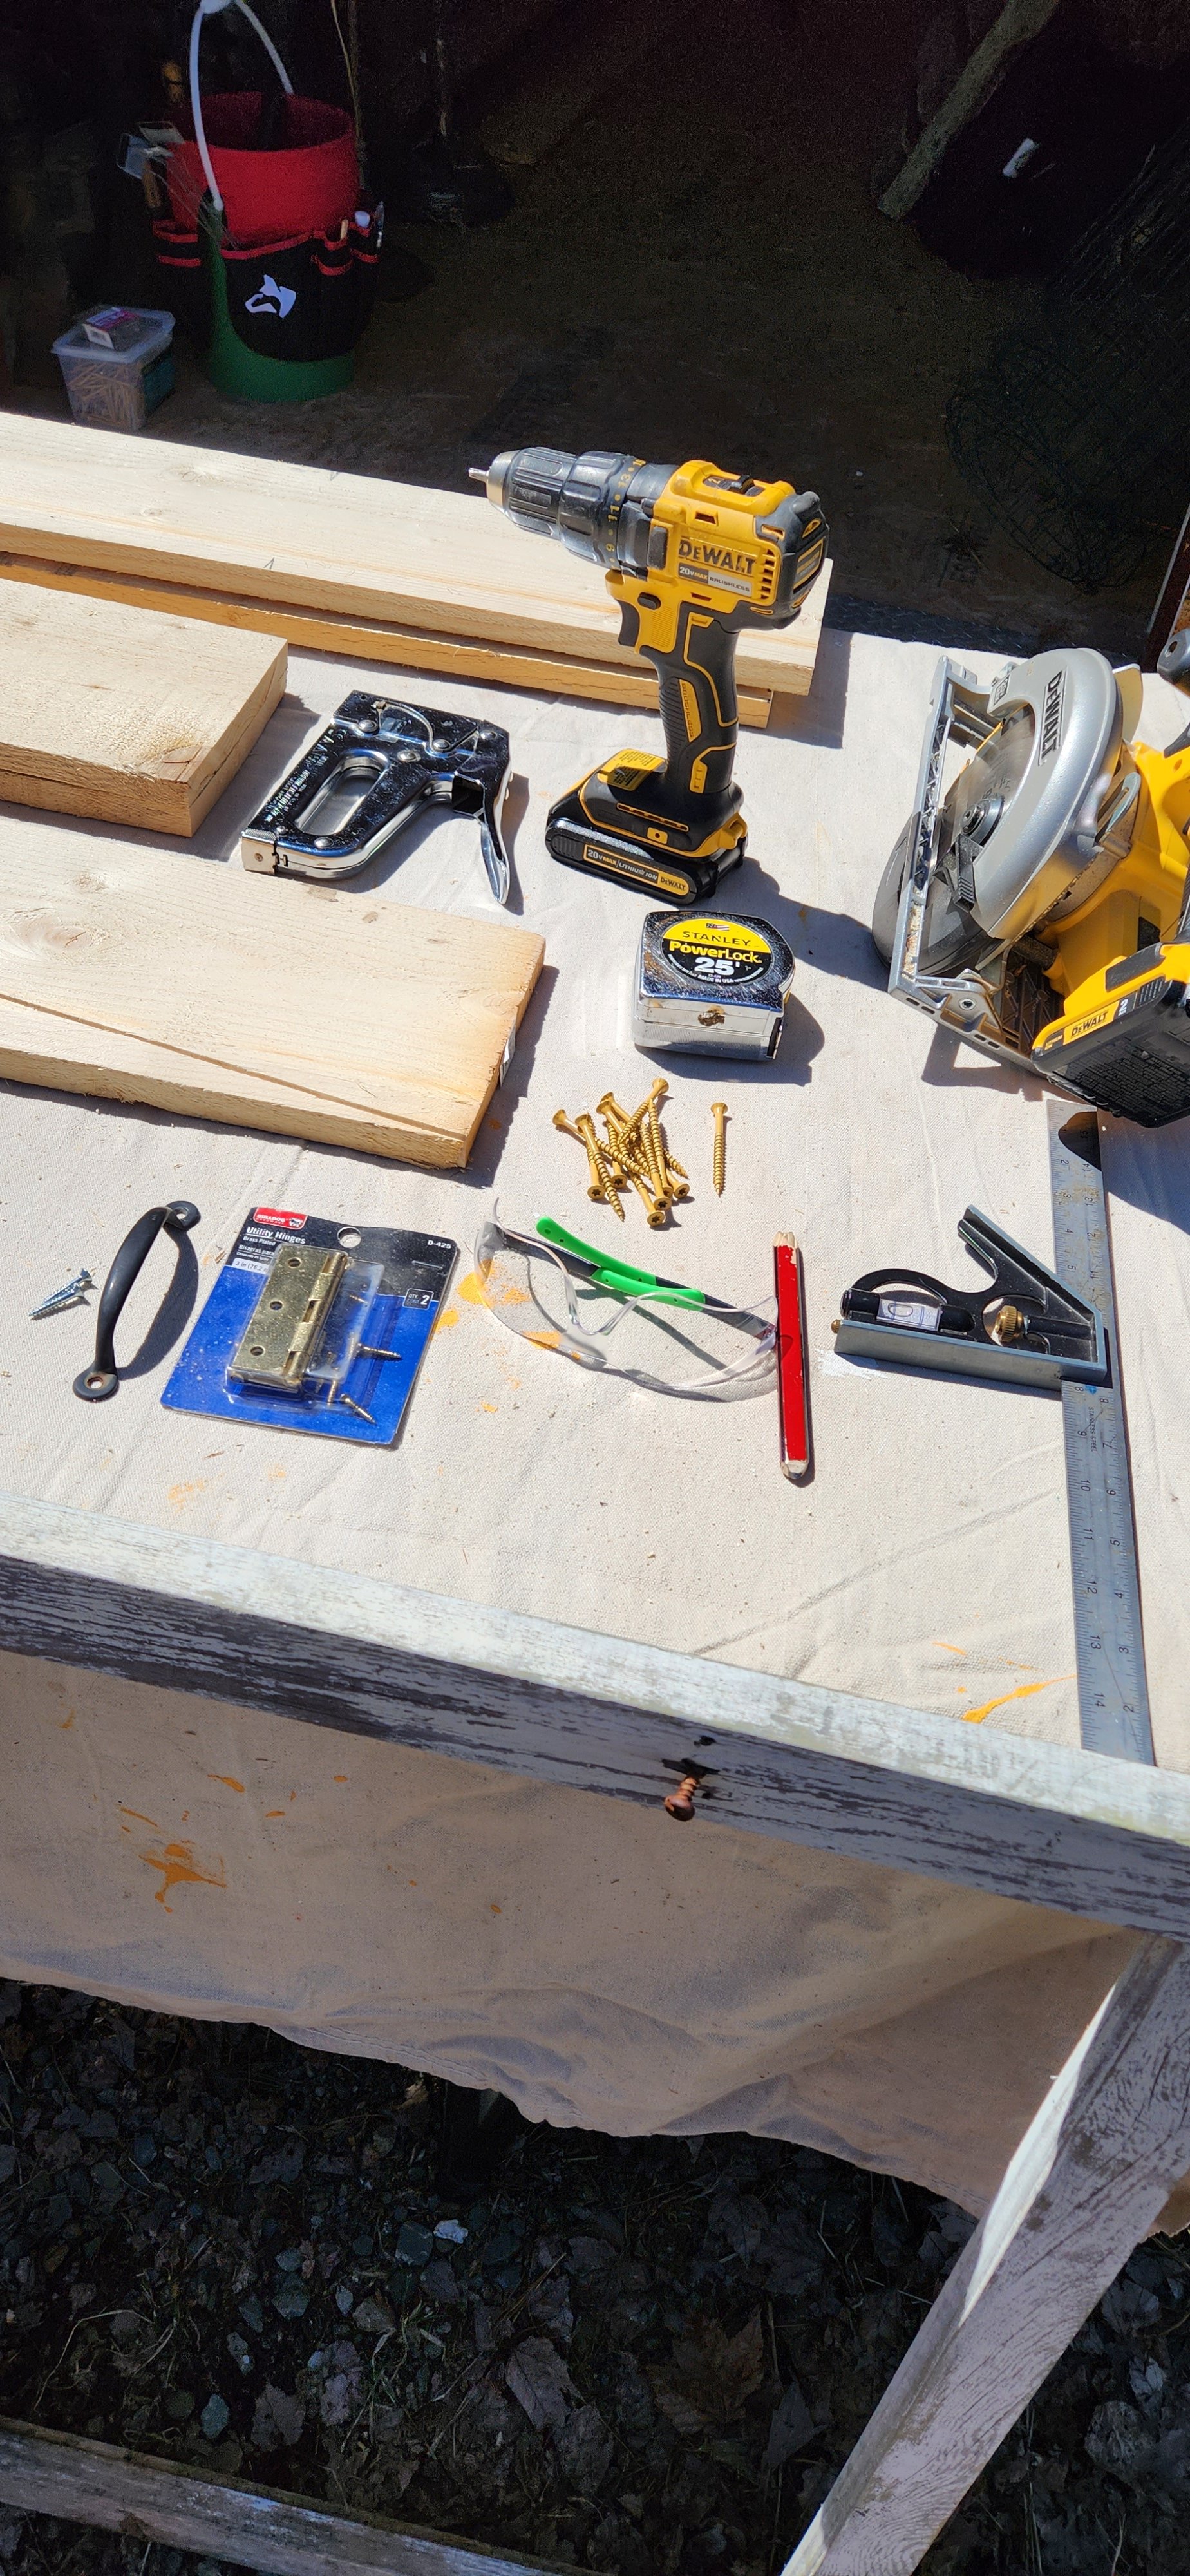
MATERIALS
Two 1-inch by 8-inch by 8-foot ledger/utility boards
Cut to following measurements:
Four 34-inch-long pieces (three left as is).
One of the 34-inch boards is cut in half lengthwise (ripped), to make two pieces that are 4 inches wide by 34 inches long.
Three 24-inch-long pieces:
Leave two pieces as they are.
Cut the third 24-inch-long piece at a diagonal lengthwise (these are the two top side pieces; the shallow angle faces the front of the box). See the Step 1 image for reference.
One 2-inch by 3-inch by 8-foot piece of stud grade lumber (only 4’ is needed, if you have scrap lumber available)
Cut to the following measurements:
Two 10.5 inches
Two 13.5 inches
Approximately thirty 2-inch wood or construction screws
Two utility hinges (3 to 4 inches, plus screws)
One door handle (and screws)
One old window
TOOLS
Saw (a circular saw or manual hand saw)
A drill with screw bit (or manual screwdriver pilot holes for the manual option)
Measuring tape
Pencil
Square or ruler (to make straight lines)
Protective eyewear
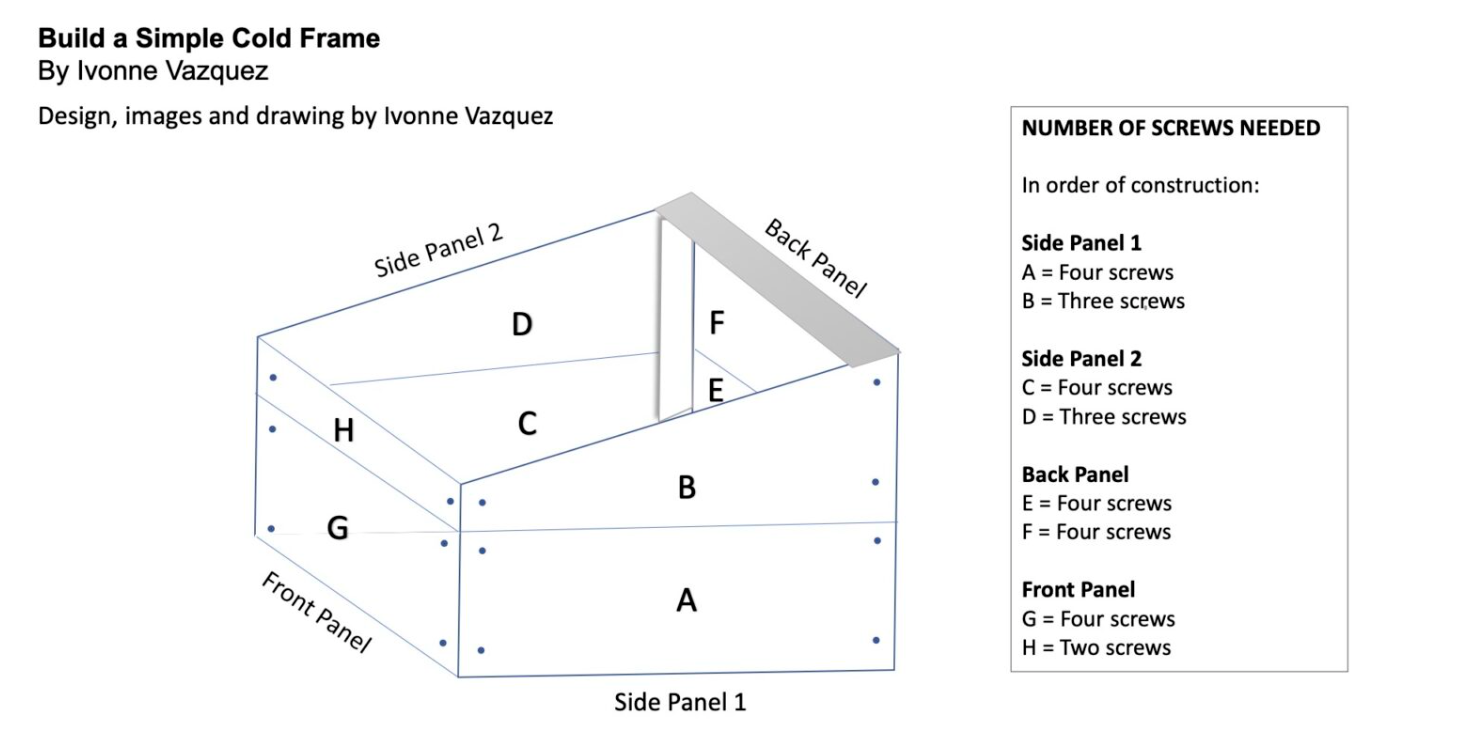
steps
Build the side panels using one 24-inch board and two stud pieces, one each 10.5 inches and 13.5 inches. Determine front and back, and bring each stud piece to the edge (make it flush with bottom and outside short edge of the board). Affix with two screws from the outside (the studs will be inside the box). Place one diagonal-cut board on top of the bottom board (the shallow angle facing forward). Affix using one screw in the supports at the narrow front and two screws for the back. Follow the same instructions for the second panel.
Using one 34-inch board and one side panel, make an “L” with corners flush. Use two screws to affix the longer board into the support stud. Place the second side panel against the other end and repeat.
Close the “U” by screwing a 34-inch board into the support studs at the front. One of the 4-inch by 34- inch pieces will be the final front piece to close the box.
Place your window (or frame) onto the box for hinge placement. Make sure the hinges are placed in the expected open position; make a pencil mark on either side of the hinge; screw it in. Attach the handle to the top front of the window frame.
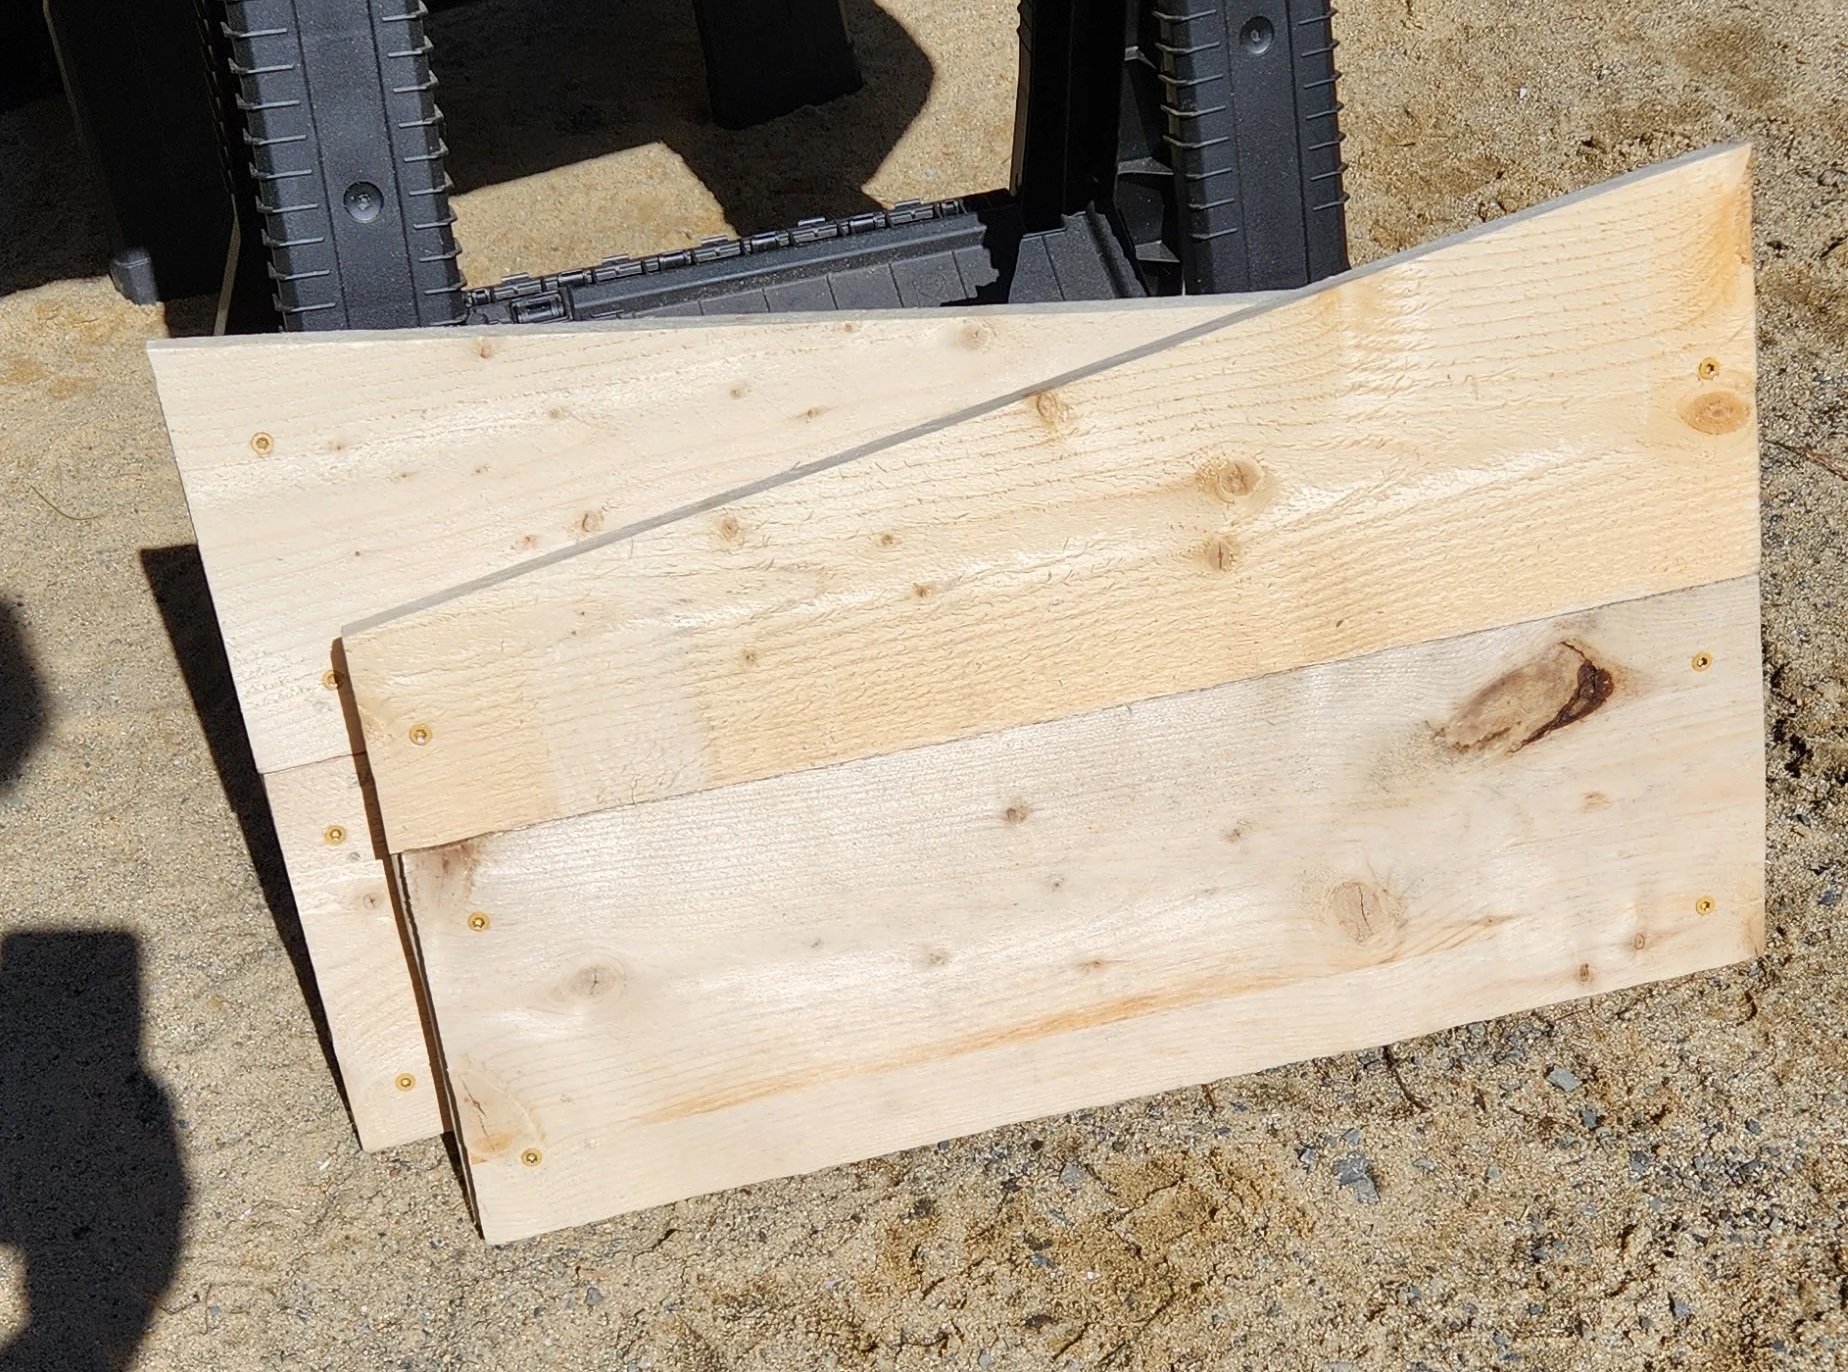
Step 1: Completed side panels.
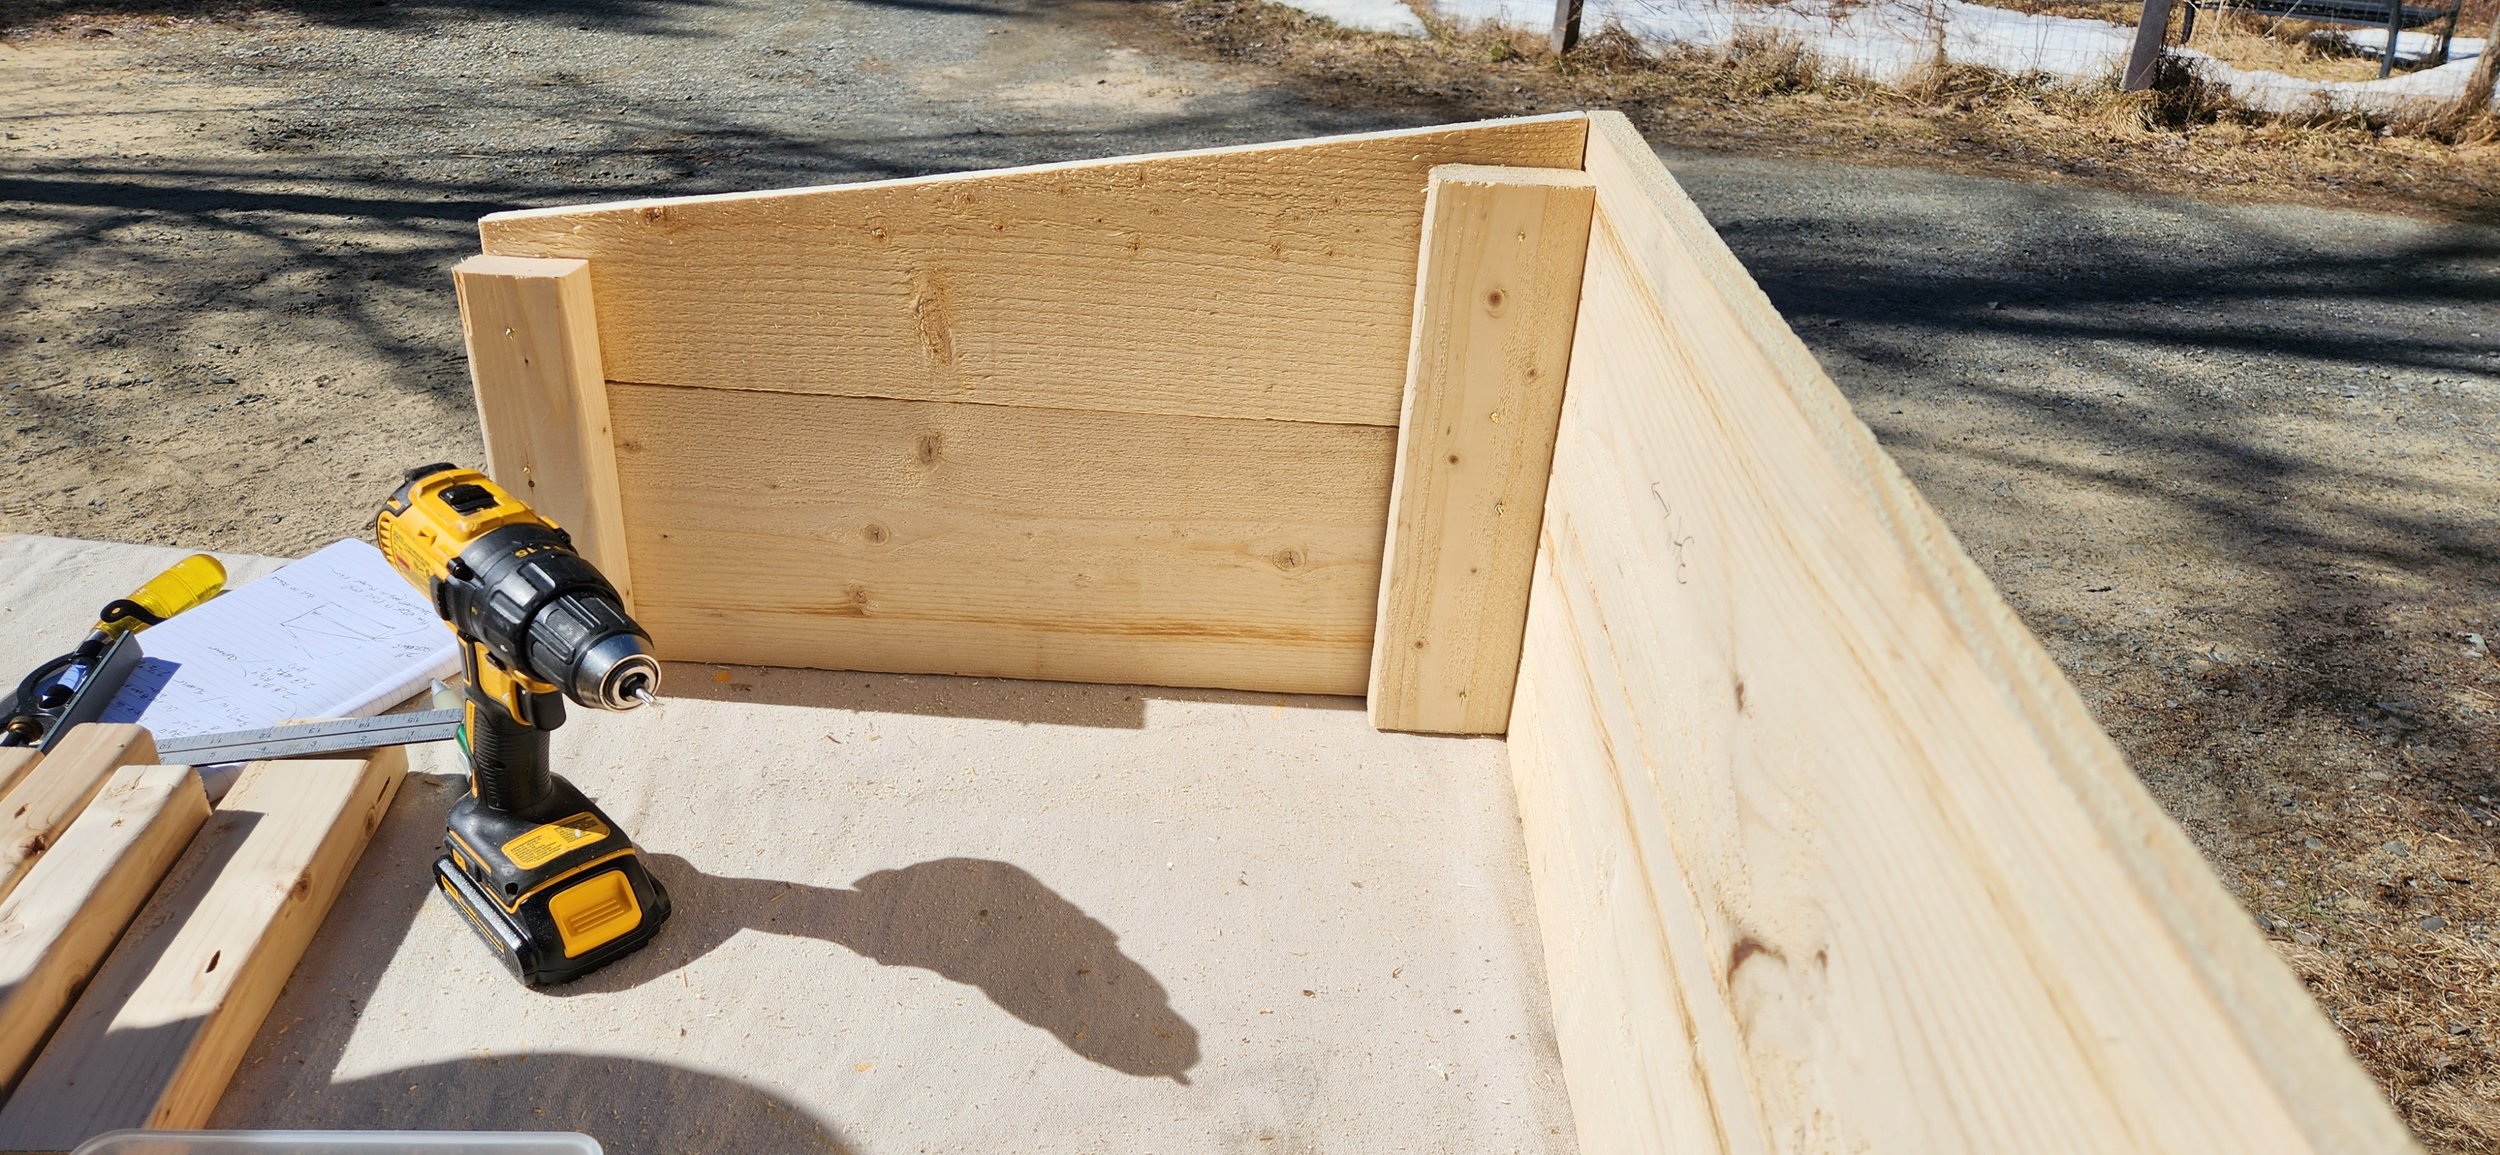
Step 2: Inside corner view. Make an “L” with back and side panels.
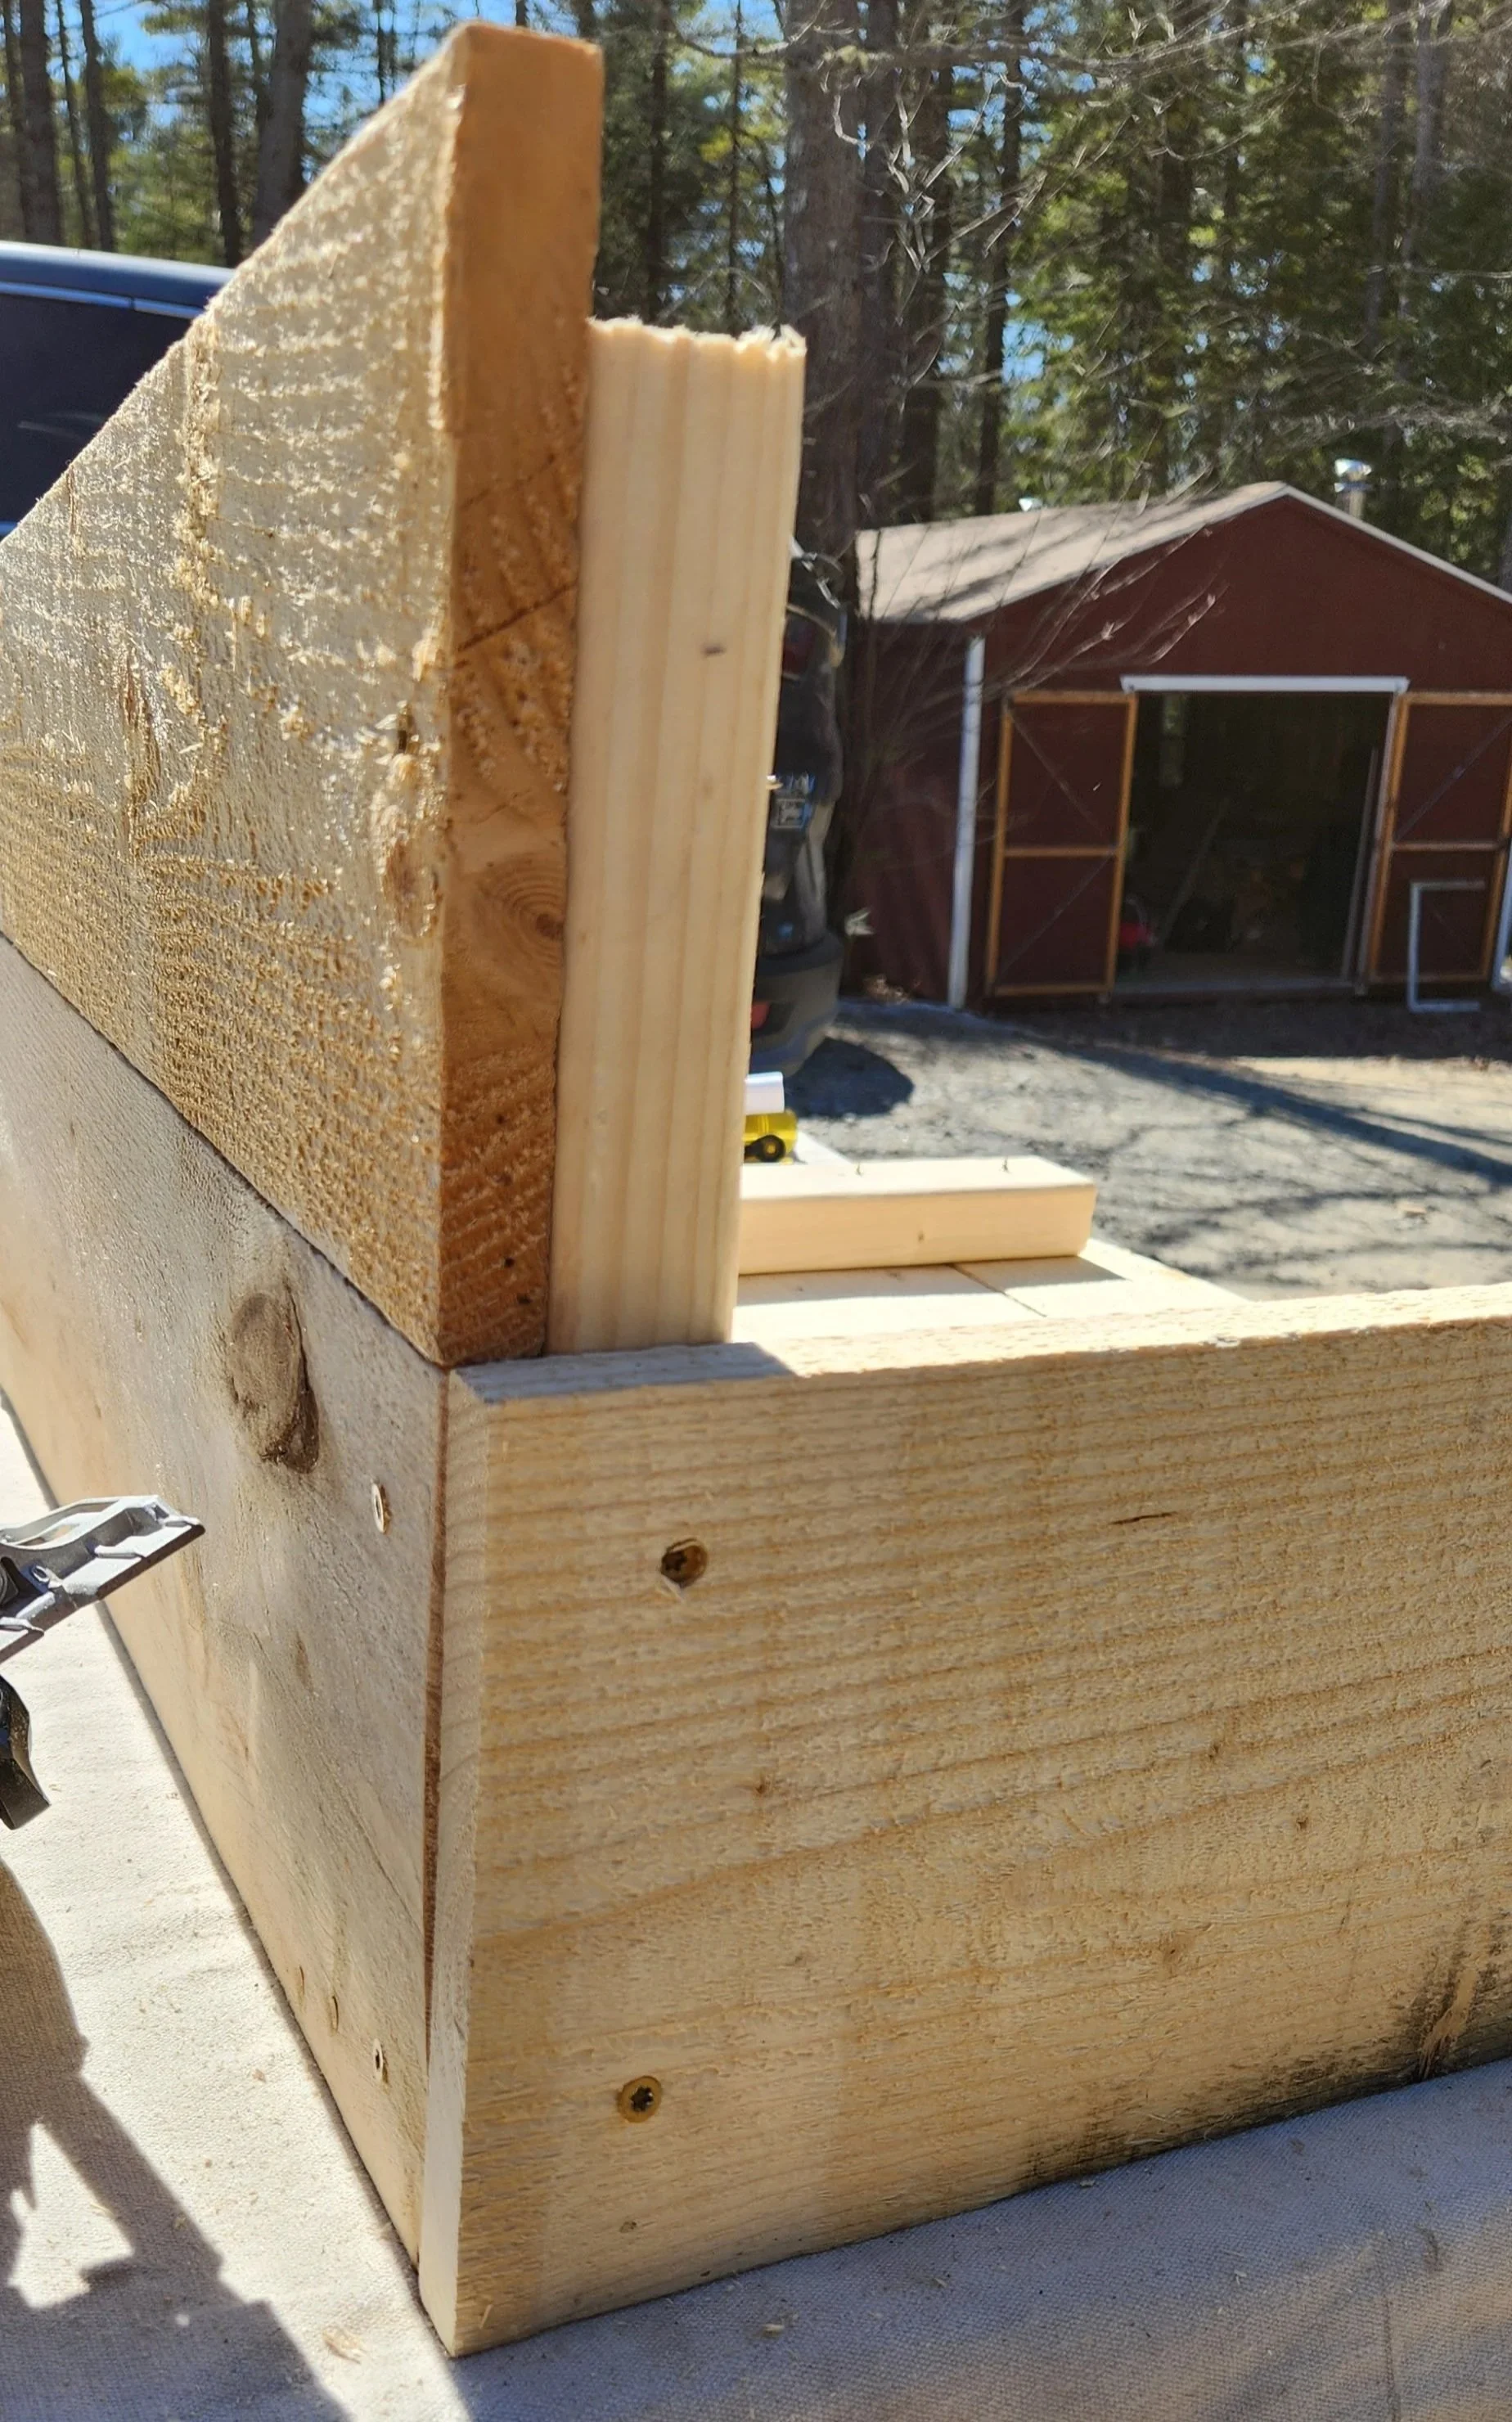
Step 2: Outside corner view.
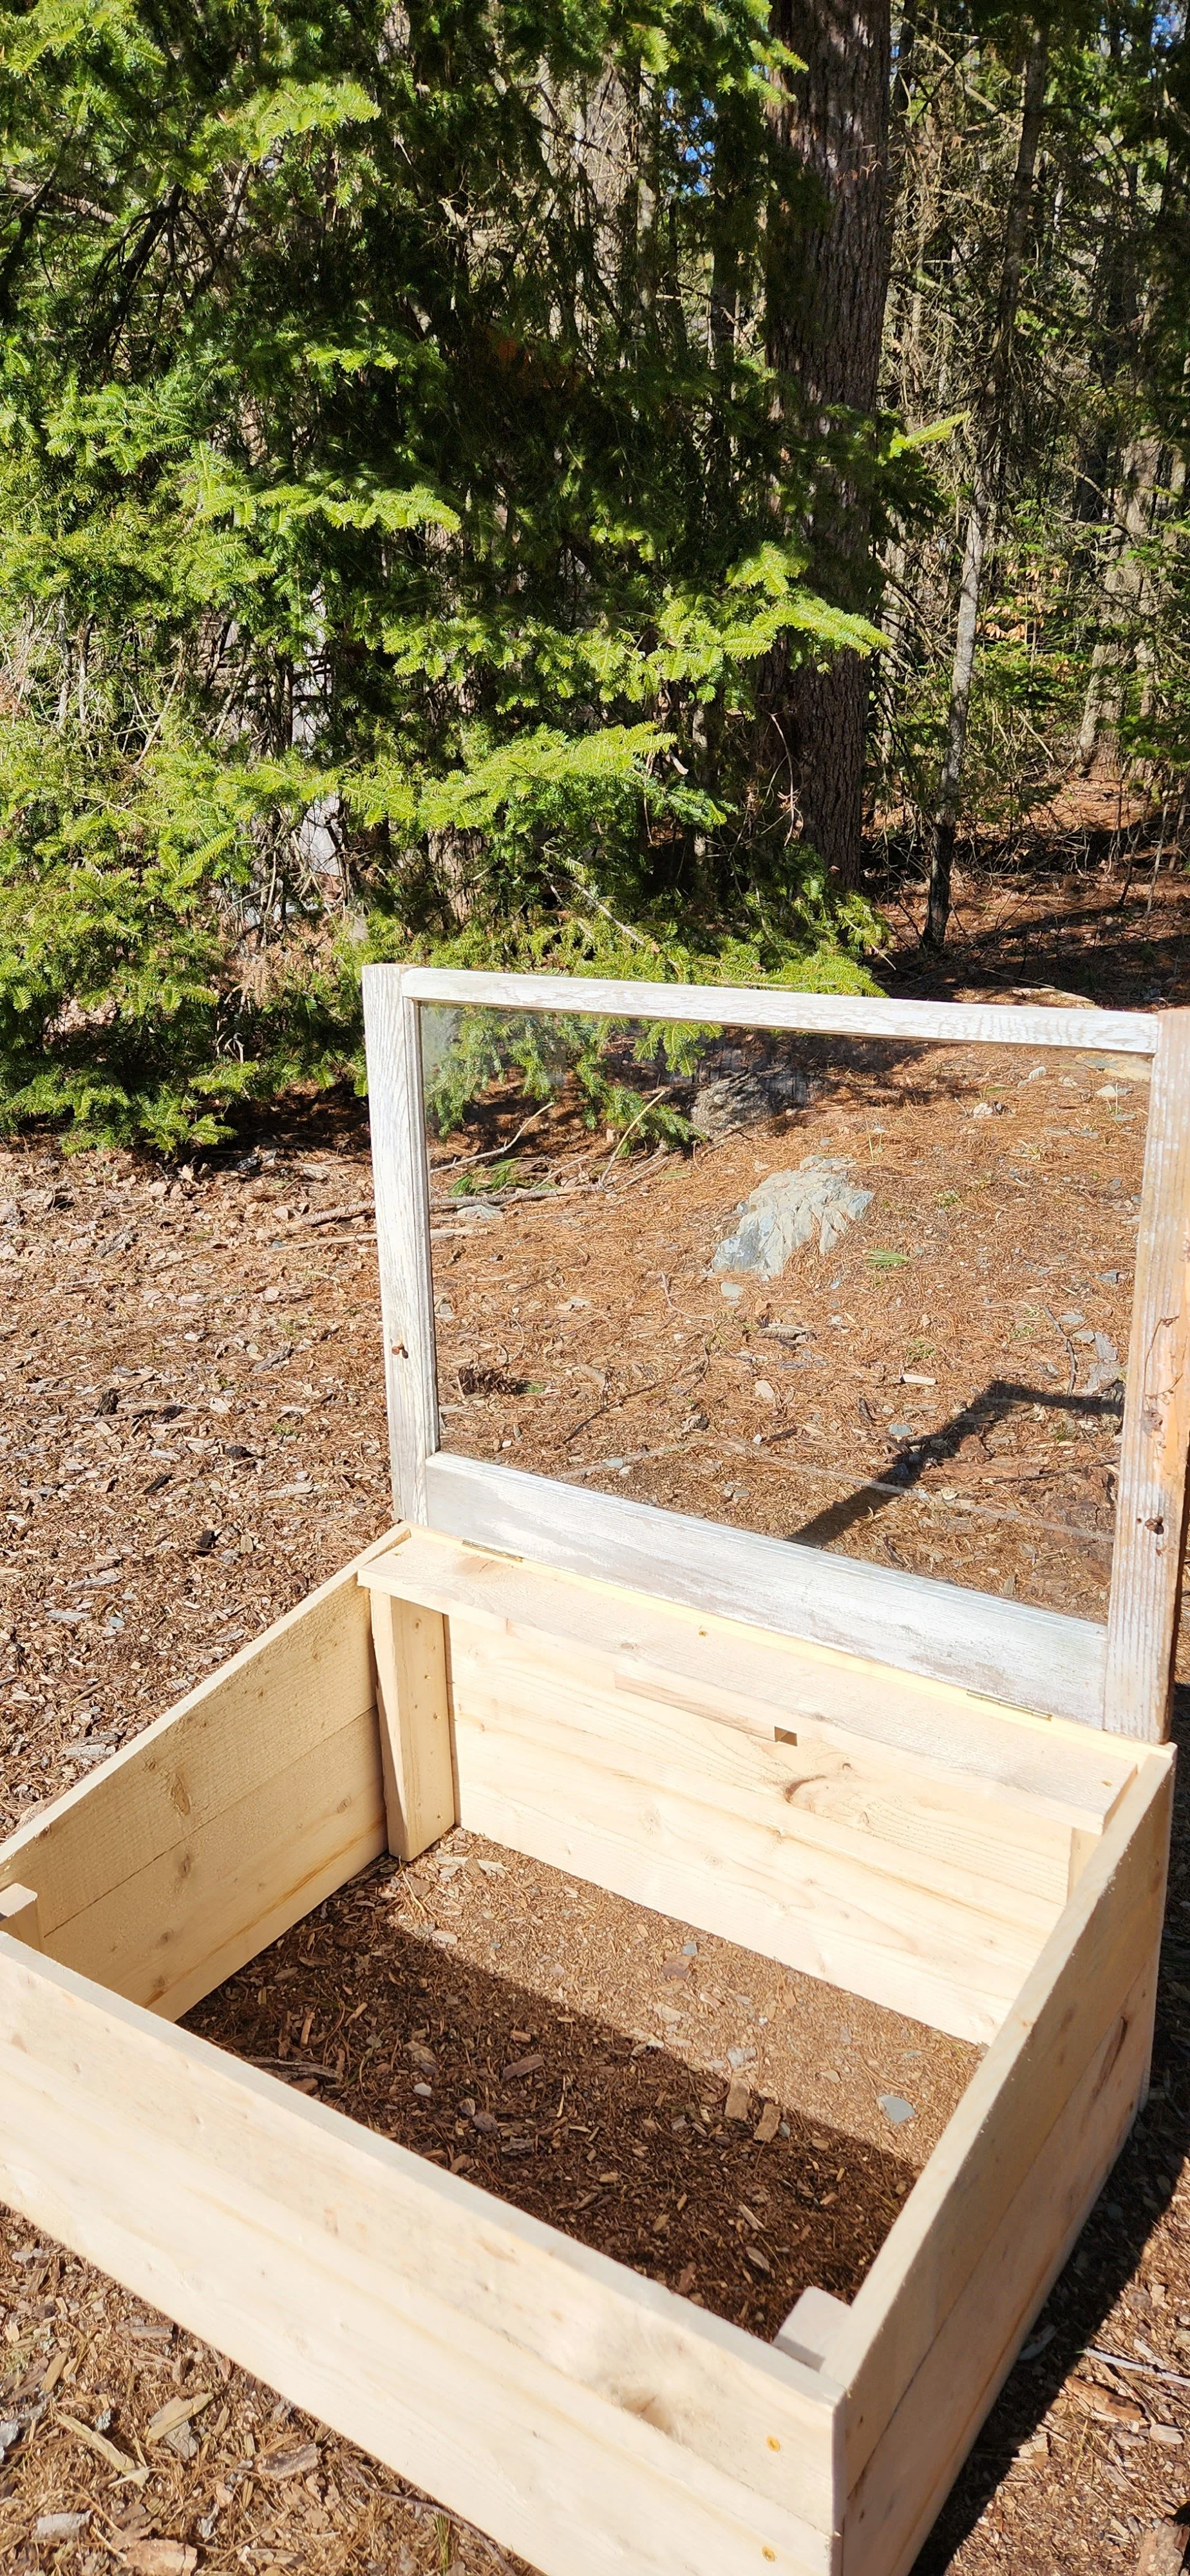
[WRONG IMAGE] Step 4: Place your window onto the box for hinge placement.
additional resources
Here are some additional resources to learn more about cold frames and other ways to extend the growing season.

This article appeared in the Fall 2026 edition of Green & Healthy Maine HOMES. Subscribe today!
Find Maine experts that specialize in healthy, efficient homes in the Green Homes Business Directory.