
Is your home weatherization ready?
Indoor Air Corner
By Christine G. Crocker
Executive Director, Maine Indoor Air Quality Council
SEALING UP AIR LEAKS and adding insulation to your home—also known as weatherizing—can make your home more energy-efficient, improve comfort and lower your heating and cooling costs. However, weatherization will also change the energy dynamics in your home, affecting moisture, air movement and temperature. It is important to (1) determine how your pre-weatherized home handles these elements, and (2) identify what strategies will be needed to make sure that your home can properly manage them after the weatherization is complete. Without these critical initial steps, problems may occur following your weatherization project, such as increased risk of mold or moisture damage to your home, increased radon levels or inadequate ventilation to bring in fresh air and exhaust out pollutants before you are exposed to them. Before you begin your weatherization project, evaluate your home for its “weatherization readiness” and complete any repairs necessary to prevent indoor air quality problems that can make you sick
Weatherization Readiness Checklist
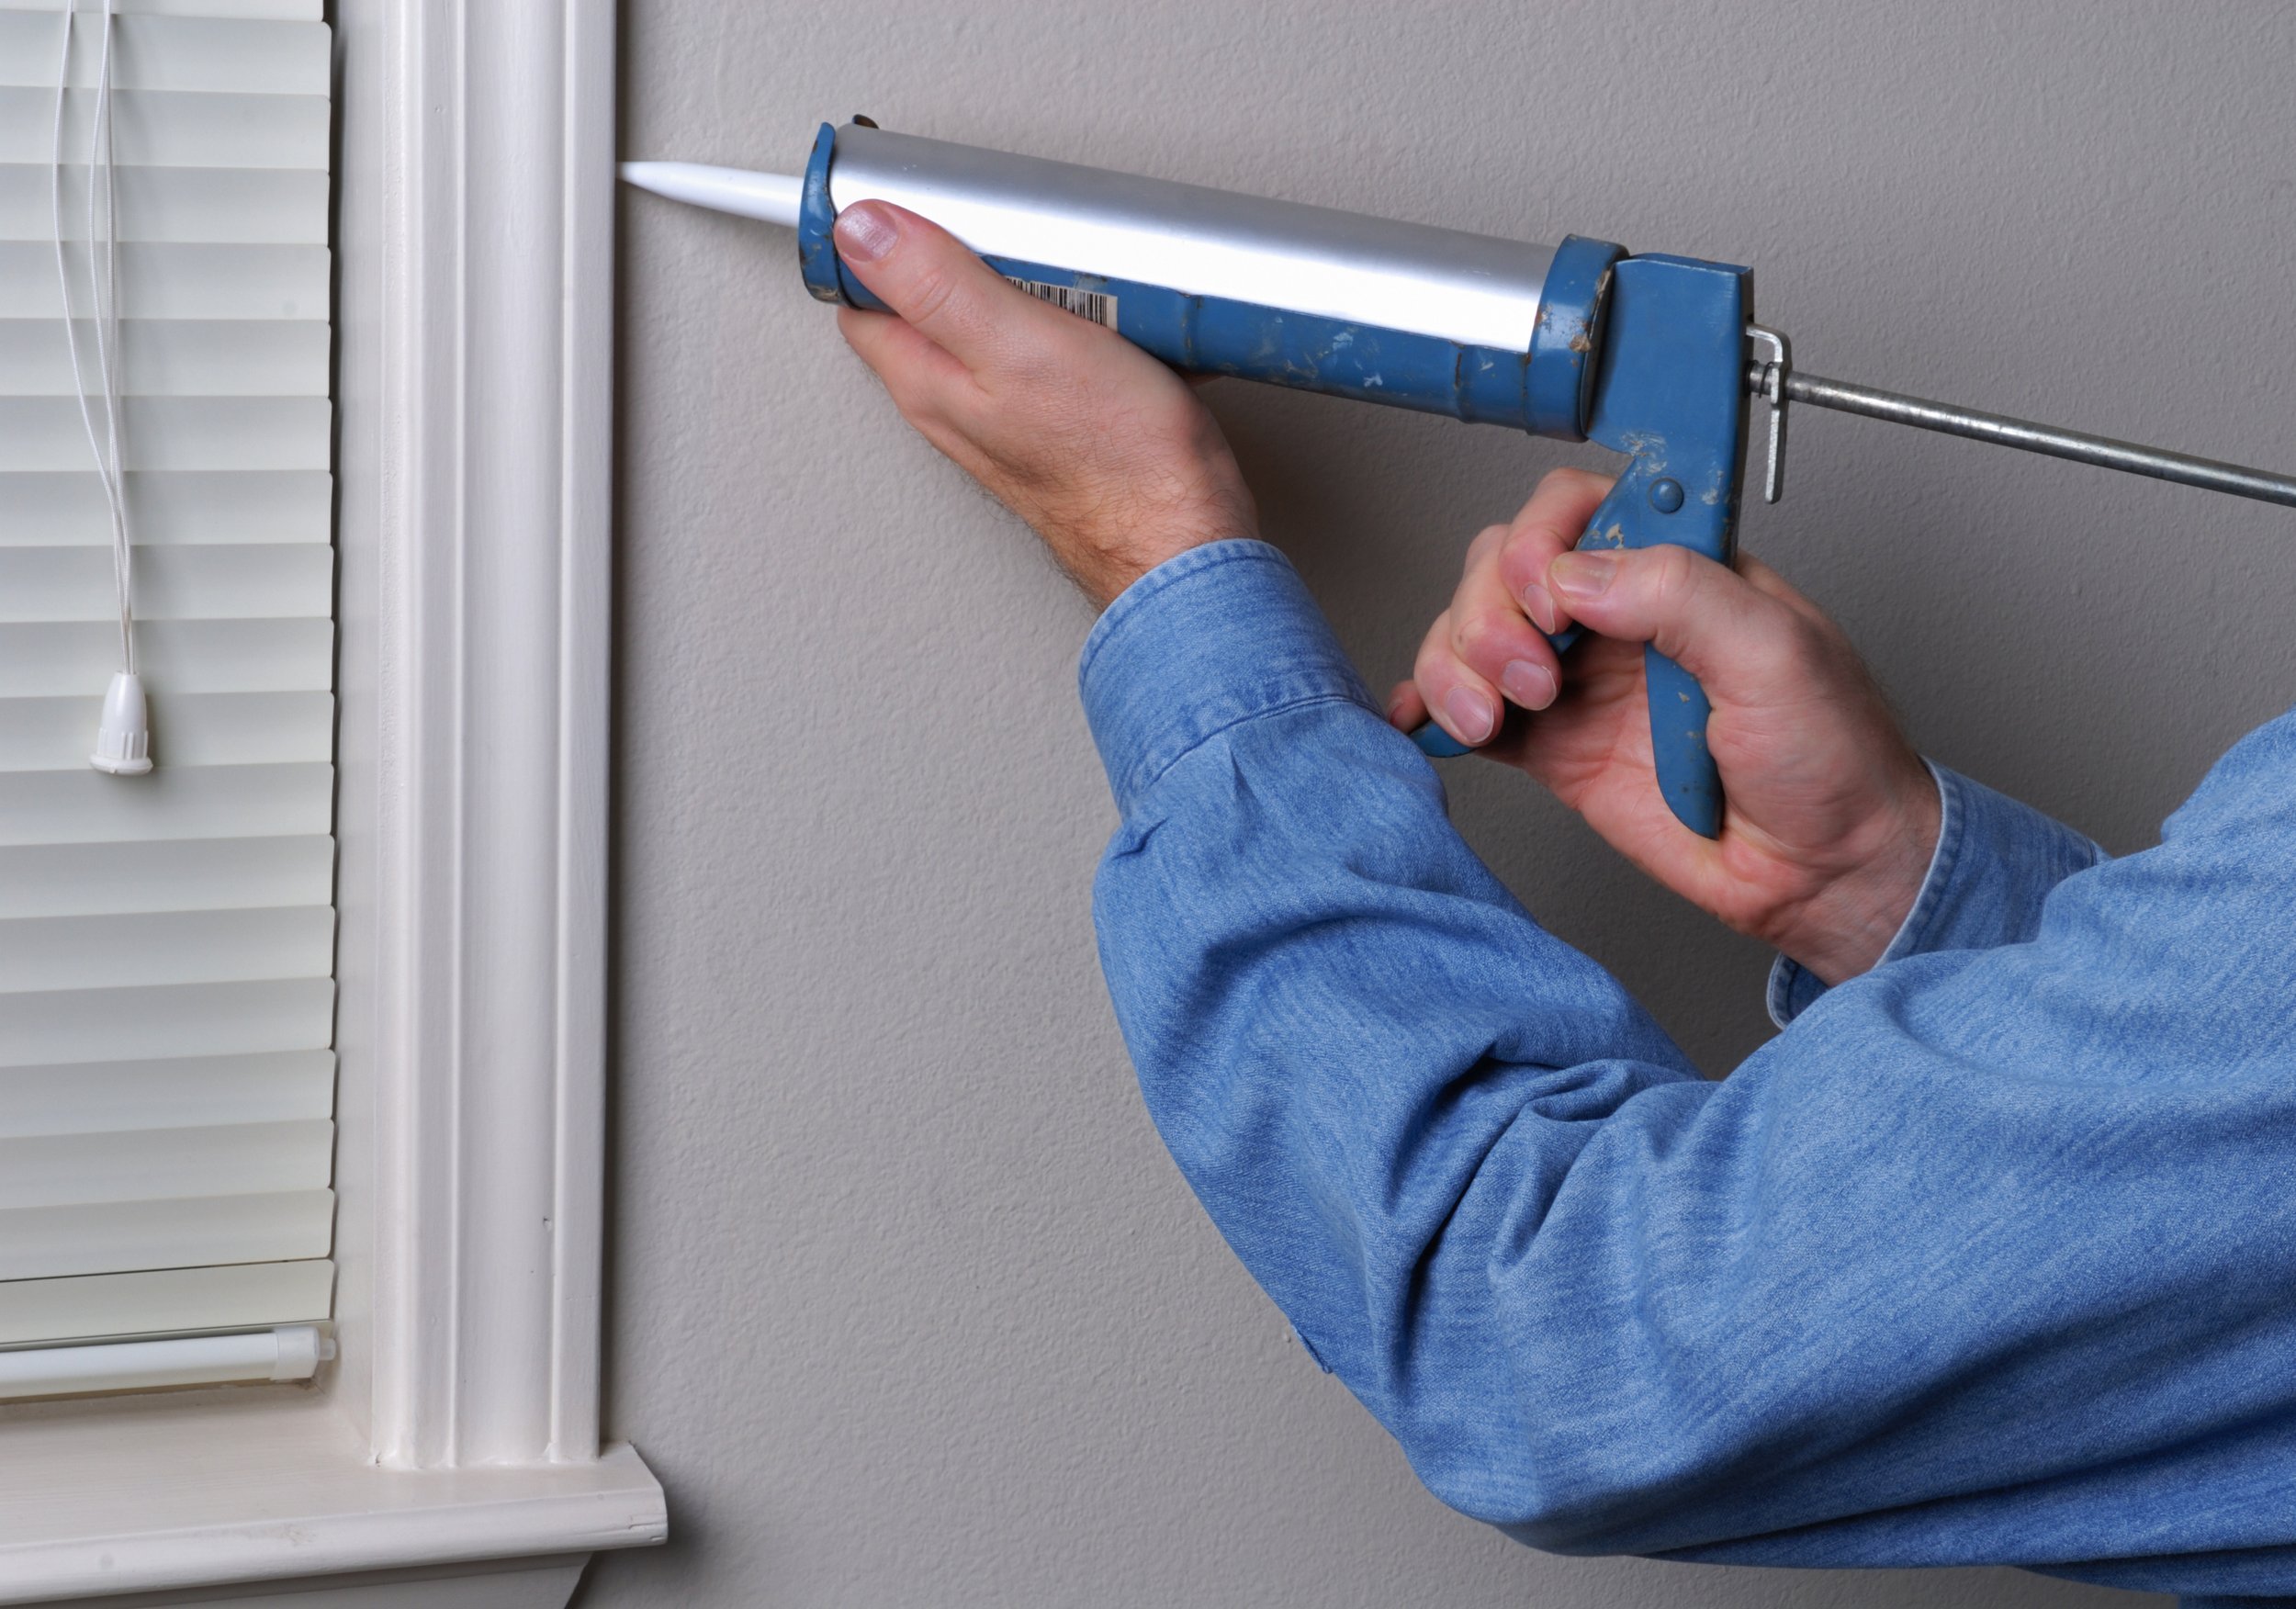
Conduct a thorough moisture inspection
Weatherization practices can trap moisture in unwanted places, leading to mold growth, building damage and negative health impact for you and your family. Walk through your home, both inside and outside, looking for evidence of leaks, water intrusion and other moisture damage. Inspect your roof, gutters, basement and foundation to make sure rainwater flows down, off and away from your home. Inspect the interior of your attic and basement spaces for signs of possible moisture issues, especially after rain. Make sure that any dirt floors and open sumps are properly sealed. Monitor your relative humidity. If any area of your home is chronically above 60%, it will be critical to install adequate ventilation in the home to prevent that moisture from getting trapped indoors. Make all moisture repairs before the weatherization work begins or ask that they be included as part of your project scope.
Test your home for radon (before and after your project)
Radon is a colorless, odorless gas that comes up from the ground and gets trapped inside buildings. Exposure to radon causes lung cancer. Studies show that weatherization practices, particularly air sealing, can increase the amount of radon that gets trapped in your home, putting you and your family at risk. But testing is quick, easy and inexpensive. If you find your home has elevated radon levels at or above 4.0 picocuries per liter (the U.S. Environmental Protection Agency–recommended action level), you can bundle the radon repairs into the weatherization project, potentially saving you money on the overall radon system. Even if your home tested below4.0 picocuries per liter before the weatherization, test your home again after the weatherization is complete to make sure your radon levels are still below the recommended action level.
Remove hazardous materials
Evaluate your home for the presence of hazardous materials—remove or label them to prevent them from being disturbed during the project. This includes labelling asbestos-containing building materials (e.g., pipe insulation, vermiculite) as well as paints, varnishes and pesticides that may be stored indoors.
Assess your home’s ventilation
Weatherization will reduce air leaks and the naturally occurring air exchange between the inside of your home and the outside. This naturally occurring air exchange may be providing your home with its only fresh air source and ventilation. Ask yourself if your home will be adequately ventilated after weatherization to bring in enough fresh air and to exhaust out pollutants. Your kitchen range and all bathrooms in your home will need mechanical fans, all of which should be vented outdoors.
Balanced ventilation with heat or energy recovery is the most reliable and energy-efficient solution for providing whole-house ventilation. A balanced ventilation system with heat/energy recovery is a simple network of ducts with a central ventilation unit. Balanced ventilation delivers fresh air and removes stale air and pollutants out of multiple areas in your home. The system is extremely energy-efficient; outgoing warm air passes next to incoming fresh air within the central ventilation unit itself, thus pre-warming that air without added energy cost. As much as 60-95% of the energy needed to heat air to comfortable indoor temperatures is recaptured and transferred during this process
Also, consider installing balanced ventilation as part of your weatherization project. Balanced ventilation is the most energy-efficient ventilation option for any home, and it provides superior ventilation to all occupied areas, protecting you and your family from exposure to pollutants. Bundling your ventilation system installation into the weatherization may reduce the cost of the system installation.
For more information about indoor air quality in your home, visit maineindoorair.org
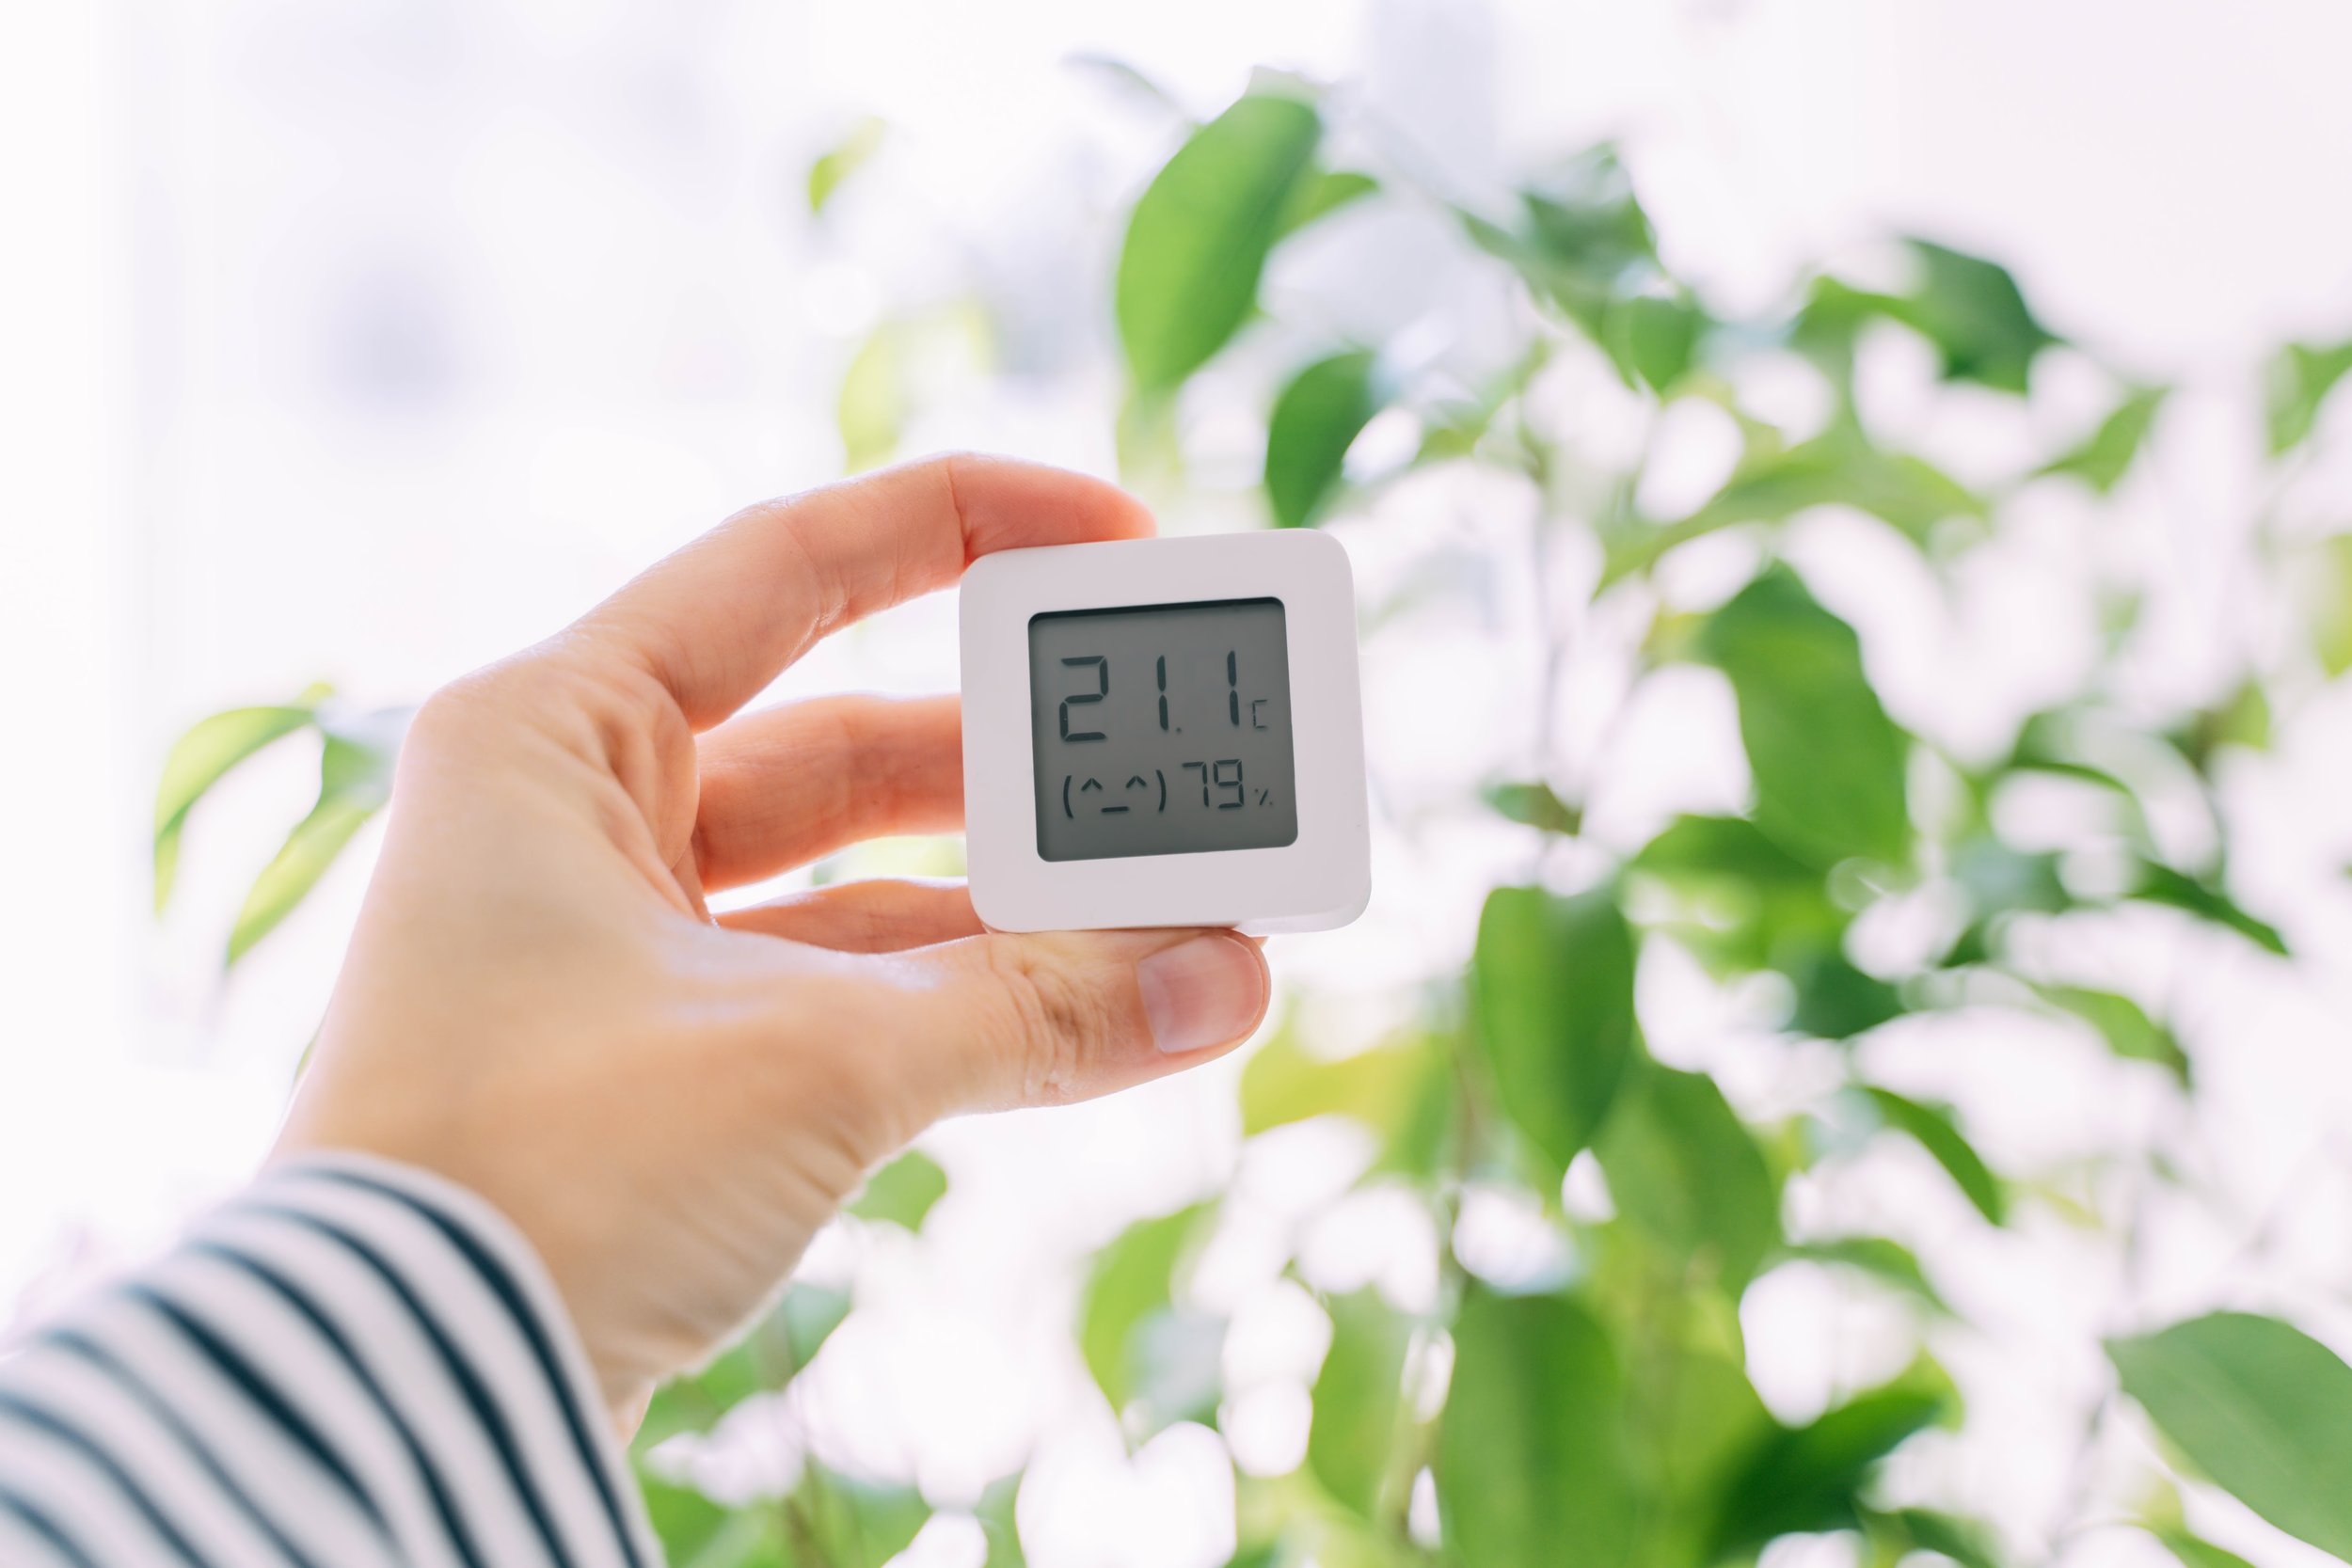
Monitoring your humidity is easy and low cost.
You don’t need a high-end piece of equipment to monitor the humidity in your home. A quick browse through your local hardware store or online should provide you with plenty of options for $20 or less. Spend a little more, and you can find systems with multiple humidity monitors connected to a central unit (or connected via Wi-Fi to your phone), allowing you to track several problem areas of your home at the same time
Where to go for more information

This article appeared in the Fall 2023 edition of Green & Healthy Maine HOMES. Subscribe today!
Find Maine experts that specialize in healthy, efficient homes in the Green Homes Business Directory.